
Essay
How To Add Grain To Online Video Without Completely Destroying The Image
Garret Harkawik

There's a lot of reasons why you might want to add a film grain look to your video. Beyond just creating a 'film-like' aesthetic, adding grain to video can help mask compression artifacts, banding and other undesirable by-products of H.264 8-bit video. (especially H.264 video that's been shot with a flat picture profile). Banding especially is an issue that is helped by the introduction of noise (or dithering as it's sometimes called). This video even claims to be able to convert 8-bit video into 4:2:2 10 bit, partially by introducing noise - I tried this process once to remove banding from a video, with mixed results (the overall look was nice, but the banding was still present).
Generally the results are pretty good when dealing with Premiere's built in grain generator - the issues with adding grain becomes obvious once you've uploaded a video to youtube or vimeo. Since all online video platforms recompress a video to their own codec once you upload it, you'll notice that your videos appear to have a lot of visible compression once they're online. This is simply because by adding grain to an image, you're adding a lot more information, which then gets translated into compression artifacts. I've done a lot of tests uploaded grainy video in a variety of formats and file sizes and the results were uniformly disappointing. Even if you're uploading something in an uncompressed format like ProRes, whatever platform you upload to is going to apply its own compression to the video.
Noise + Compression

Original shot with added noise.
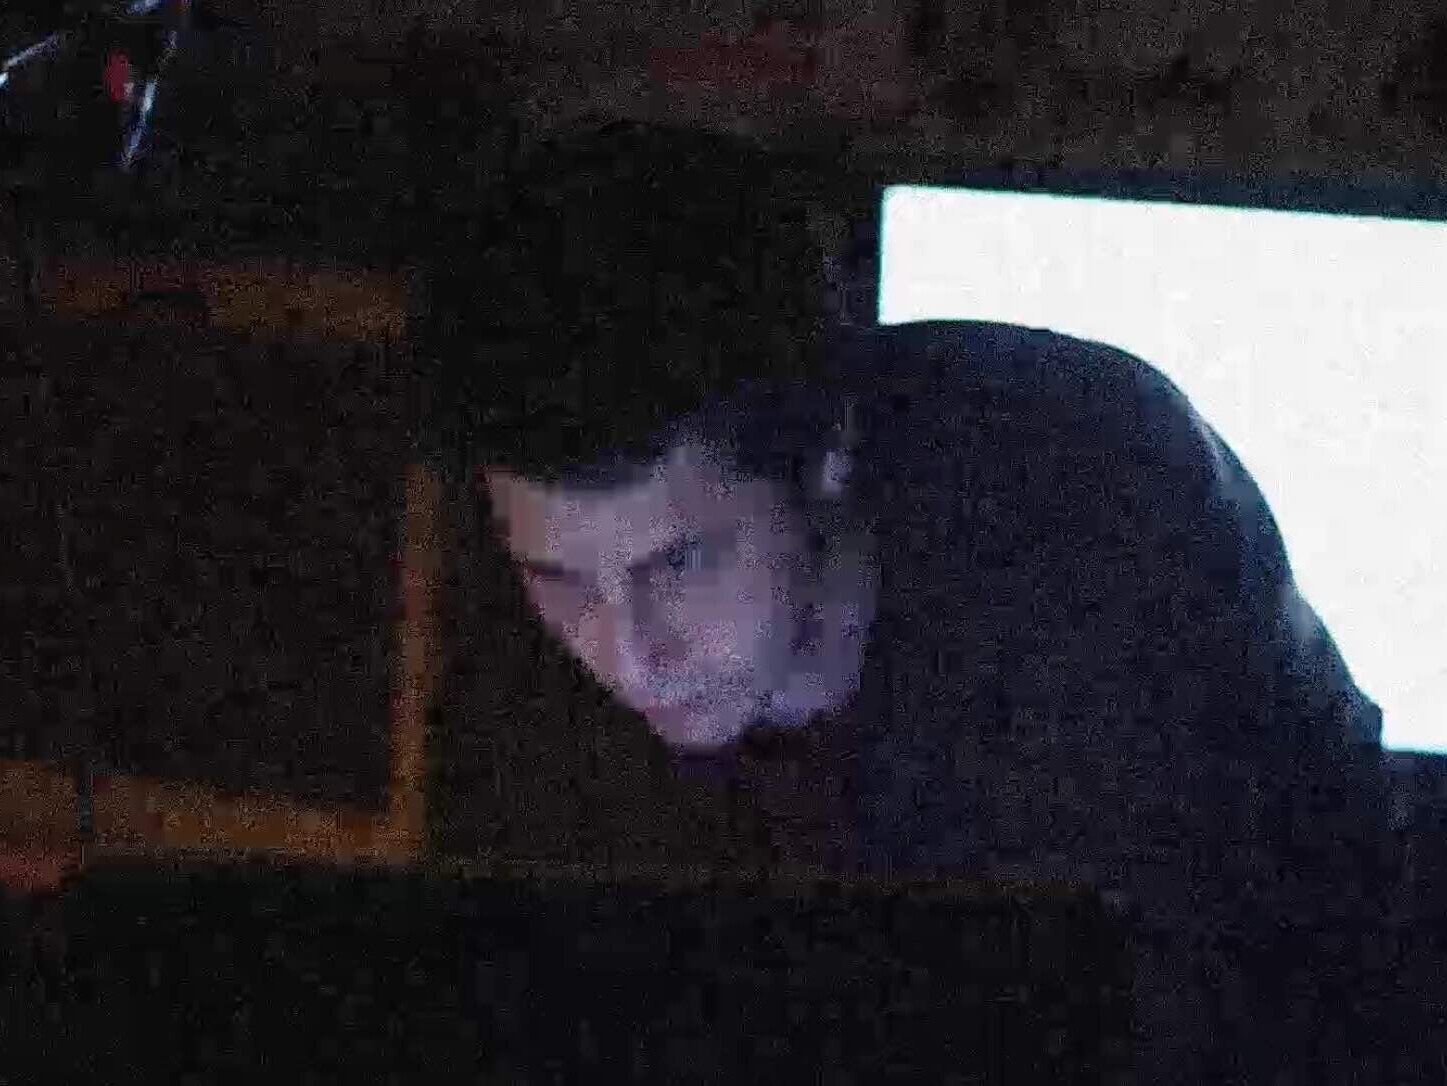
Visible compression after uploading to Vimeo.
So this brings us to a paradox: if you're adding grain to stylize your video and mask video artifacts, is it really worth it if it's going to cause new compression artifacts once it's online?
My feeling, generally, is no.
But, if you really want a grainy/noisy look to your video and it'll be primarily viewed online there are a few steps you can take to ensure you don't end up with a compressed mess once it's uploaded.
A while back I was doing research on adding grain to video and I came across Holy Grain, a company that sells film grain overlays for video. Their examples on vimeo were pretty impressive (in terms of how little compression was visible) so I downloaded one of their samples to take a look at how it works. Holy Grain claims to sell actual film scans of grain, although I have to admit I'm a little dubious of their claim (mostly because how on earth would that work? Did they scan in unexposed film? Or film a white card, scan that and then make it semi-transparent? If I had to guess I'd say these are most likely digitally-generated overlays). Their overlays definitely did have nice results when it came to compression - In the tests I did, I found that their overlays resulted in my uploaded videos having less visible compression than the uploads I made with Premiere's grain filter.
So should you buy Holy Grain's overlays? Maybe, if you want to save some time (they're not too expensive). However, if you want to save a little money and possibly fine-tune your grain, I was able to recreate their results in After Effects.
So what made Holy Grain's overlays work better than a standard grain filter? After inspecting a few different test images, the answer became clear: While Premiere's grain filter adds uniform grain to the entire image, Holy Grain's overlays only add grain to certain parts of an image, namely the mid-luminance areas. The HG overlays DON'T add any grain to the dark and light areas of the image. It's actually a pretty clever way of creating a grainy look while minimizing the amount of information you're adding to a video frame (and it more accurately mimics the look of actual film grain too).
Here are a few examples to illustrate this point. Below is a white/blue/black card, first with no grain and then with Premiere's grain filter applied:


As you can see, the premiere filter adds grain to the blue (mid tone), as well as the white and black (It might be a little hard to see in the black, but it's there - you might notice the second black of black appears to be slightly lighter than the first).
Now let's take a look at what Holy Grain's filter does:

As you can see, the black and white areas remain unchained while the blue gets a little noisier. Here's another example:

The left of the image is Holy Grain's Overlay and the right is Premiere's. HG is only adding grain to the subject's face, whereas Premiere is adding it to the dark background and white computer screen too. While this does create a uniform look to the image, it's not very economical. Since a viewer is going to naturally be looking at the mid-range areas of the image it makes sense that that would be where the grain should be most present.
Once I realized what was making Holy Grain's overlays work so well it was pretty easy to recreate them using After Effect's grain filter. The AE grain filter is similar to Premiere's Add Noise filter, but it allows you to have a lot more control over the look and effect of the grain. For example, it allows you to limit the amount of noise in the high and lowlights, in addition to changing the sharpness and size of the grain. I actually found that AE's presents were already pretty close to Holy Grain's overlays (once I made the grain monochrome).
After a bit of experimentation, here's the result of AE's grain filter on the same card:

Ultimately you're going to have to play around with settings yourself, and change then scene to scene and shot to shot to achieve good results. But it's definitely worth it if you want a grainy look without a tone of ugly compression artifacts gunking up your video.